In the field of quality assurance and control, especially in industries such as manufacturing, aerospace and healthcare, the terms ‘inspection’ and ‘testing’ are often used interchangeably. However, they represent different processes, especially when it comes to advanced technologies such as X-ray inspection systems. The purpose of this article is to clarify the differences between inspection and testing, particularly in the context of X-ray inspection systems, and to highlight their respective roles in ensuring product quality and safety.
X-ray inspection systems are a non-destructive testing (NDT) method that utilises X-ray technology to examine the internal structure of an object without causing any damage. These systems are widely used in various industries such as electronics, automotive and video packaging to detect defects such as cracks, voids and foreign objects.The main advantage of X-ray inspection is its ability to provide a detailed image of the internal features of a product, which can be thoroughly analysed for its integrity.
The process by which a product or system is inspected in an inspection chamber to ensure that it meets the required standards or specifications. In an X-ray inspection system, inspection involves visual or automated analysis of the generated X-ray images. The purpose is to identify any anomalies or defects that may affect product quality or safety.
1. Purpose: The primary purpose of inspection is to verify compliance with predetermined specifications. This may include checking physical dimensions, surface finish and the presence of defects. 2.
2. Process: Inspection can be done visually or by automated systems. In X-ray inspection, images are analysed by trained operators or advanced software to identify any anomalies. 3.
3. Result: The result of the inspection is usually a pass/fail decision based on whether or not the product meets established standards. If defects are found, the product may be rejected or sent for further evaluation.
4. Frequency: Inspection is usually carried out at different stages of the production process, including incoming material inspection, in-process inspection and final product inspection.
Testing, on the other hand, evaluates the performance of a product or system under specific conditions to determine its functionality, reliability and safety. In the case of X-ray inspection systems, testing may involve evaluating the performance of the system, its calibration, and the accuracy of the results it produces.
1. Purpose: The primary purpose of testing is to assess the operational capability of a system or product. This includes evaluating the ability of an X-ray inspection system to detect defects or the accuracy of the images produced. 2.
2. Process: Testing can be performed using a variety of methods, including functional, stress and performance testing. For X-ray inspection systems, this may include running a sample of known defects through the system to assess its ability to detect them.
3. Results: The result of the test is usually a detailed report outlining the system's performance metrics, including sensitivity, specificity and overall effectiveness in detecting defects.
4. Frequency: Tests are typically performed after initial setup, maintenance or calibration of an X-ray inspection system and are performed periodically to ensure continued system performance.
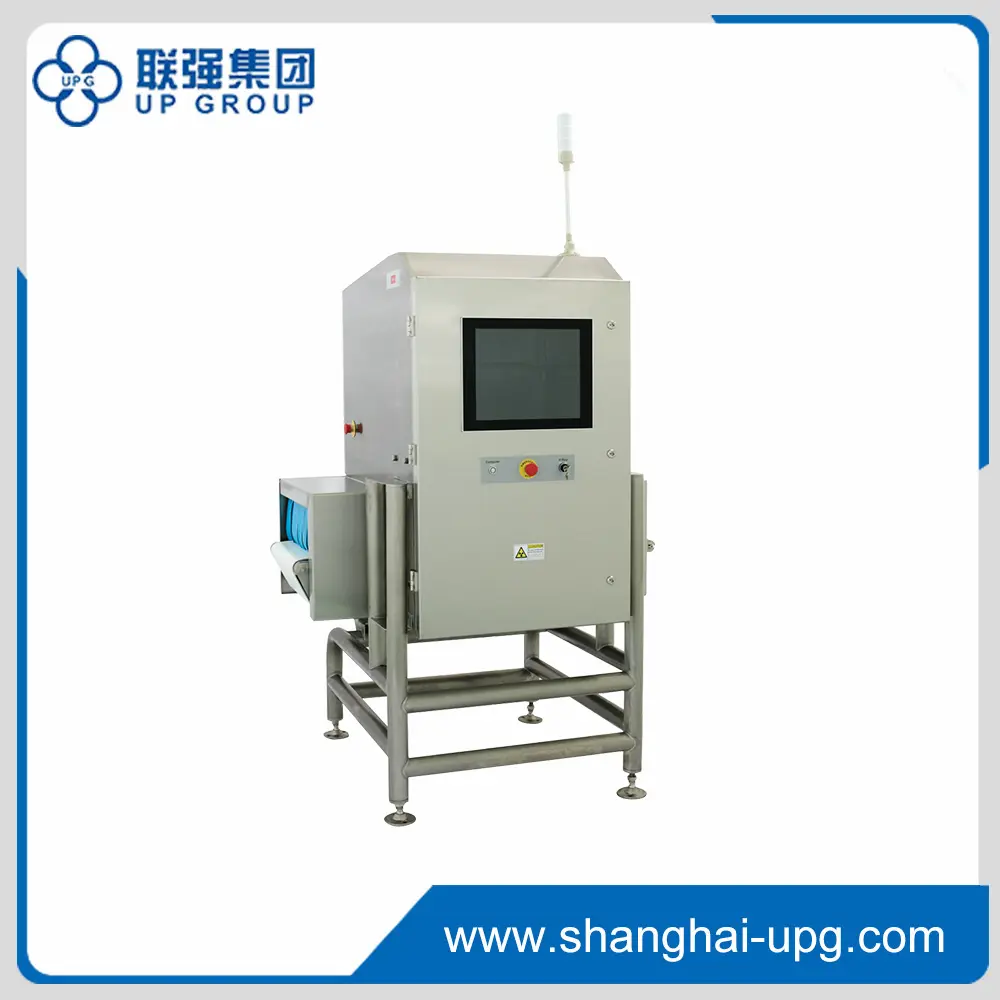
Please allow us to introduce one of our company's X-ray Inspection System

Based on intelligent foreign object recognition algorithms with excellent software self-learning and detection accuracy.
Detect foreign objects such as metal, glass, stone bone, high density rubber and plastic.
Stable conveying mechanism to improve detection accuracy; flexible conveying design for easy integration with existing production lines.
A wide range of models are available, such as AI algorithms, multi-channel algorithms, wide-models heavy duty models,etc.to improve performance and reduce production costs at site.
While inspection and testing are both important components of quality assurance, they serve different purposes and are performed differently, and here are some of the key differences:
1. Focus: Inspection focuses on verifying compliance with specifications, while testing focuses on assessing performance and functionality.
2. Methodology: Inspection usually involves visual analysis or automated image analysis, whereas testing may involve a variety of methods for evaluating performance under different conditions.
3. Results: Inspection results are usually pass/fail, while test results provide an in-depth analysis of system functionality in the form of a performance report.
4. When: Inspection is carried out at various stages of production, whereas testing is usually carried out during set-up, maintenance or periodic evaluation.
In conclusion, both inspection and testing play a vital role in the effective use of an X-ray inspection system. Understanding the difference between these two processes is vital for quality assurance and control professionals. Inspection ensures that products meet specific standards and guidelines, while testing evaluates the performance and reliability of the inspection system itself. By utilising both processes, businesses can improve product quality, ensure safety and maintain compliance with industry standards. As technology continues to advance, incorporating advanced X-ray inspection systems into quality assurance time will undoubtedly play a key role in the future of manufacturing and other industries.
Post time: Nov-21-2024
